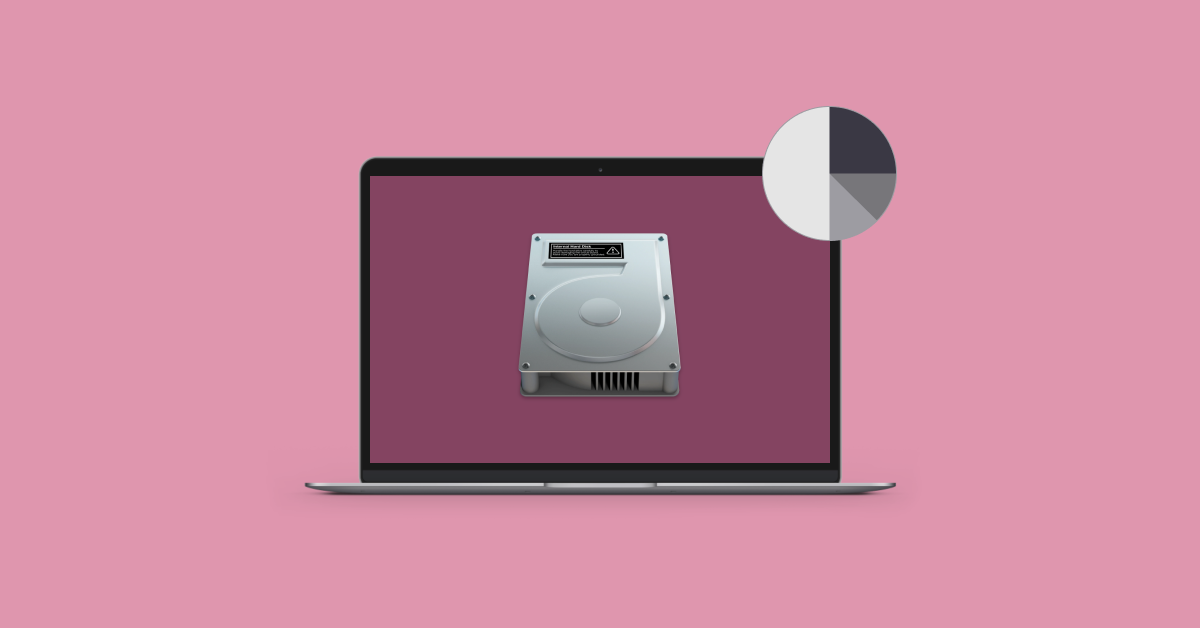
Are you frightened about information loss? Are your information and folders unorganized? Do you wish to boot up two completely different working methods on a single machine?
For those who answered sure to all of these questions, it could be time so that you can partition Mac exhausting drive.
There are numerous causes to divide a tough disk. Possibly you wish to create separate containers in your information. Or possibly you wish to set up Home windows in your machine. In that case, disk partitioning is obligatory. On this article, I’ll stroll you thru a step-by-step information on disk partitioning on macOS.
Methods to partition a tough drive on Mac
Earlier than I information you thru every step, try the methods I’ve put collectively so that you can begin partitioning immediately:
| Methods to partition on Mac | do it? |
| Partitioning a drive utilizing Disk Utility | Open Finder > Functions > Utilities > Disk Utility and select the drive you wish to partition. In case of unintentional deletion, use Disk Drill to recuperate information. |
| Partitioning a drive utilizing Boot Camp Assistant | First, again up your information with Get Backup Professional. Then, open Finder > Functions > Utilities > Boot Camp Assistant and select the reminiscence you wish to allocate in your Home windows set up. |
| Switching from Home windows to Mac | On Home windows, open Hidden Icons > Boot Camp Icon > Restart in macOS. |
| Switching from Mac to Home windows | Open Finder > Functions > Utilities > Startup Disk > Select Home windows > Click on Restart. |
| Selecting the OS throughout system restart | Press Management + Command + Energy Button > Maintain down the Choice key > Select the OS. |
| Partitioning an exterior exhausting drive | Open Finder > Functions > Utilities > Disk Utility and select the exterior drive you wish to partition. |
What’s the distinction between a partition and a quantity?
For those who’re new to Mac storage, understanding partitions and volumes will be complicated. Merely put:
- A partition is a approach of dividing a tough drive into separate sections. Every part works independently, like having a number of storage areas on one bodily drive.
- A quantity is a space for storing that macOS acknowledges as a single unit. It may be created from a partition or by combining a number of storage areas.
Not like partitions, volumes are straightforward to entry, handle, and examine in Finder, similar to another folder or drive. Partitions, alternatively, exist behind the scenes and are primarily used for organizing information or operating a number of working methods.
create a partition in your Mac
Subdividing a drive can sound intimidating, particularly to non-technical customers. I nonetheless bear in mind the primary time I partitioned a drive on my macOS a number of years in the past. I used to be simply stepping into computer systems, and partitioning a drive was thought-about one thing to brag about to your pals. I did brag about it! And similar to that, I grew to become the pc skilled in my buddy group.
Now, after loads of expertise underneath my belt, I can reformat exterior exhausting drives, Mac or Home windows, with ease. Disk splitting on Mac just isn’t troublesome in any respect for you as nicely in the event you observe some easy steps.
Mac supplies two choices for disk partitions:
- Via Disk Utility
- Via Boot Camp Assistant
For those who’re trying to set up Home windows, go together with Boot Camp Assistant as a substitute. It’s greatest to keep away from utilizing Disk Utility to delete any partitions made by Boot Camp Assistant since that might mess issues up in your system.
Utilizing Disk Utility
Disk Utility is the default macOS app used for disk administration. It is vitally highly effective, and you’ll obtain a terrific take care of it, not simply disk partitions. To partition exhausting drives with Disk Utility, do the next:
- Open Finder > Functions > Utilities > Disk Utility.
- Select the specified quantity or partition from the sidebar.
- Click on the Partition button within the toolbar.
- Click on the Add (+) button under the pie chart > Add Partition.
- Enter a reputation for the brand new quantity.
- Choose a file system format from the Format menu (APFS, Mac OS Prolonged, FAT, or ExFAT).
- Set the scale by getting into a price or dragging the resize management.
- Click on Apply > Click on Partition to substantiate.
- Click on Achieved as soon as the method is accomplished.

Utilizing Boot Camp Assistant
Boot Camp Assistant helps you create a partition for Home windows in your Mac. To attain this:
- Open Finder > Functions > Utilities > Boot Camp Assistant.
- Insert an exterior USB drive into your Mac.
- Select the Home windows ISO file. When selecting a partition measurement for Home windows, bear in mind to put aside house for each macOS and Home windows. Simply ensure to decide on an honest quantity for the Home windows partition.
- Click on Partition after selecting the suitable house.
- Then, identify your Home windows partition > Restart your pc to start Home windows set up.
With this, you may simply change between macOS and Home windows on the identical machine.
Again up your information earlier than any set up
It is best to again up all of your information earlier than making an attempt a Home windows set up, simply in case one thing goes awry. To create a backup, I used a helpful app like Get Backup Professional to again up important information rapidly. I synchronized folders, scheduled backups, and simply migrated the information to a different disk, all within the blink of an eye fixed.
Wish to know the way? Observe these steps:
- Set up and open Get Backup Professional.
- Click on add “+” on the backside left nook to create a brand new backup.
- Choose a Backup vacation spot.
- Click on OK after which click on File+ so as to add information.
- Click on the Play button to run the backup.

change between macOS and Home windows on Mac
Putting in macOS and Home windows on the identical machine can assist you to work with completely different environments with out the necessity to change computer systems each time you might want to take a look at some function. This works after you partition exhausting drives to accommodate each working methods. You’ve the choice to modify between Home windows to macOS, from macOS to Home windows, or select an OS throughout system start-up.
Switching from Home windows to Mac
You may simply change from Home windows to Mac via these easy steps:
- On Home windows, click on the Boot Camp icon within the system tray (the Hidden Icons menu).
- From the Boot Camp menu, select Restart in macOS.
- Your machine will restart and boot into macOS.
Switching from Mac to Home windows
Similar to switching from Home windows to Mac, switching from Mac to Home windows will be simply accomplished via the next steps:
- Open Finder > Functions > Utilities > Startup Disk.
- Select Home windows from the out there choices.
- Click on Restart to reboot your Mac into Home windows.
Selecting the OS throughout system restart
You can even select the working system you wish to use throughout system boot-up. It may be accomplished via the next steps:
- To restart, press Management + Command + energy button in your Mac
- Maintain down the Choice key (Alt key on Home windows).
- A panel with choices will seem.
- Select the OS you wish to boot up with.
That is the only option to change between a number of put in working methods whereas booting.
partition an exterior exhausting drive to work on Mac and Home windows
Exterior exhausting drives are helpful if you’re working with a number of information that must be shared between gadgets. However what if considered one of your machines is Home windows and the opposite one is Mac? In such eventualities, partitioning the exterior drive to carry information from each Home windows and Mac works greatest. ExFAT (Extensible File Allocation Desk) is a file format that works for each Mac and Home windows. However notably, the draw back right here is that you just received’t have the ability to maintain information which can be bigger than 4 GB.
Right here’s easy methods to format a tough drive for Mac:
- Open Finder > Functions > Utilities > Disk Utility
- Select the drive you wish to format on the left > Click on Erase on the app’s high toolbar.
- Identify the exterior drive > Select the file format (ExFAT).
- Click on Erase to finish the method. Now, partition exhausting drives. Choose the exterior drive once more within the Disk Utility app.
- Click on on the small plus “+” icon.
- Break up the reminiscence in accordance with your wants.
- Select a file format that’s the identical because the one above (ExFAT).
- Click on Apply to create a brand new partition > Click on on Partition.
- Wait until the method is ongoing > Click on Achieved.
That is the simplest option to format a tough drive for a Mac. Now, you should utilize this drive for each Home windows and Mac.
What’s the greatest format for a Mac exhausting drive?
Over time, Apple has gone via many alternative file methods for its proprietary merchandise. Earlier than Mac settled on the massively in style APFS (Apple File System), Mac OS Prolonged was the default file system. In my private expertise, APFS’s repute is completely warranted. It was designed with SSDs (Stable state drives) in thoughts. However what makes it the very best file format for Mac? Let me break it down for you:
- A format made for SSDs: The largest benefit APFS has over the opposite file codecs is its optimization for SSDs. Stable State Drives are revolutionary new reminiscence gadgets that don’t have movable elements. The shortage of mechanical elements means it consumes much less energy, doesn’t fail just like the older HDDs, and is much less susceptible to information corruption. You can even simply partition exhausting drives on SSDs. And APFS takes full benefit of SSD’s fluidity. All trendy Apple gadgets, from iPhones and iPads to Macs, use SSD exhausting drives.
- Preserving the file measurement: While you attempt to copy a big video or audio file, the file measurement could improve after the duplicate is made. However with APFS, the file measurement is preserved, which means no additional junk clogging and slowing down your machine. This function is a boon for individuals who repeatedly use massive information, like video editors or ML engineers.
- Instantaneous operations: Keep in mind the outdated days whenever you needed to stare at a progress bar everytime you tried to repeat one thing? Not with APFS. All copying operations are just about instantaneous, which is likely one of the largest benefits of utilizing SSD drives. Now, you don’t have to take a seat and stare on the display whereas it tells you what file quantity is being copied at present. Only one click on, and the information is duplicated magically.
Do you might want to do extra than simply partition exhausting drives? Ultimate phrase
Although proudly owning a Mac comes with its personal perks, you’ll nonetheless want a serving to hand with regards to unlocking the complete energy of your high-end machine. Not each person is prepared to wade via on-line how-to guides. For these nontechnical customers, I like to recommend utilizing ready-made instruments that may maintain the exhausting half. Whether or not it’s managing exterior NTFS exhausting drives via your Mac with iBoysoft NTFS for Mac, eliminating reminiscence junk via CleanMyMac, recovering misplaced information easily with Disk Drill, or backing up valuable information by way of Get Backup Professional, these helpful apps make the lifetime of a Mac person million occasions simpler!
You may strive all these apps by way of Setapp. It’s a platform that gives a collection of macOS and iOS apps designed with devoted Mac customers such as you in thoughts. You may check out superior instruments in a single neat subscription bundle, and that too with a 7-day trial interval.
FAQ
Do you have to partition Mac exhausting drive?
It is best to partition your Mac exhausting drive if you wish to higher handle your information or if you might want to set up a second working system (like Home windows) for dual-booting.
partition an exterior exhausting drive on a Mac with out erasing it?
To partition an exterior exhausting drive on a Mac, you should utilize the Disk Utility app. Earlier than subdividing, Mac will present you the way a lot reminiscence is on the market on a drive. You may alter the quantity of allotted house accordingly. For those who by chance erase or delete information on a drive, use Disk Drill to revive misplaced information instantly.
What’s the beneficial partition for Mac?
The beneficial partition for Mac is the GUID Partition Scheme, which works flawlessly for nearly all Mac gadgets.
Does partitioning a Mac sluggish it down?
Partitioning a Mac exhausting drive causes it to run slower. This occurs as a result of creating a number of partitions additionally divides the sources that go into sustaining every fragment of reminiscence. It’s also true for exterior exhausting drives in the event you regularly reformat exterior exhausting drives on Mac.