- Easy methods to create a macOS bootable USB: Format your USB in Disk Utility as APFS (for newer macOS) or Mac OS Prolonged (Journaled) (for older variations), then use the Terminal createinstallmedia command to repeat the macOS installer and make it bootable.
- Set up macOS from a USB: Shut down your Mac, join the USB, then boot utilizing the Possibility (Intel) or Energy button (Apple silicon). Select your USB installer, choose your inside drive, and comply with the on-screen prompts to put in macOS.
- Making ready your Mac earlier than set up: All the time again up vital recordsdata with Get Backup Professional and clear junk recordsdata utilizing CleanMyMac to stop system errors and release house earlier than reinstalling macOS.
- Troubleshooting frequent errors: In case your USB isn’t acknowledged or the installer received’t load, examine that it’s appropriately formatted and take a look at a unique port. Run First Help in your disk from macOS Utilities to repair recurring set up points.
- Simplify setup with Setapp instruments: CleanMyMac, Get Backup Professional, and iBoysoft Knowledge Restoration are all accessible via Setapp’s 7-day free trial, providing you with all the pieces you might want to clear, again up, and recuperate your Mac earlier than or after set up.
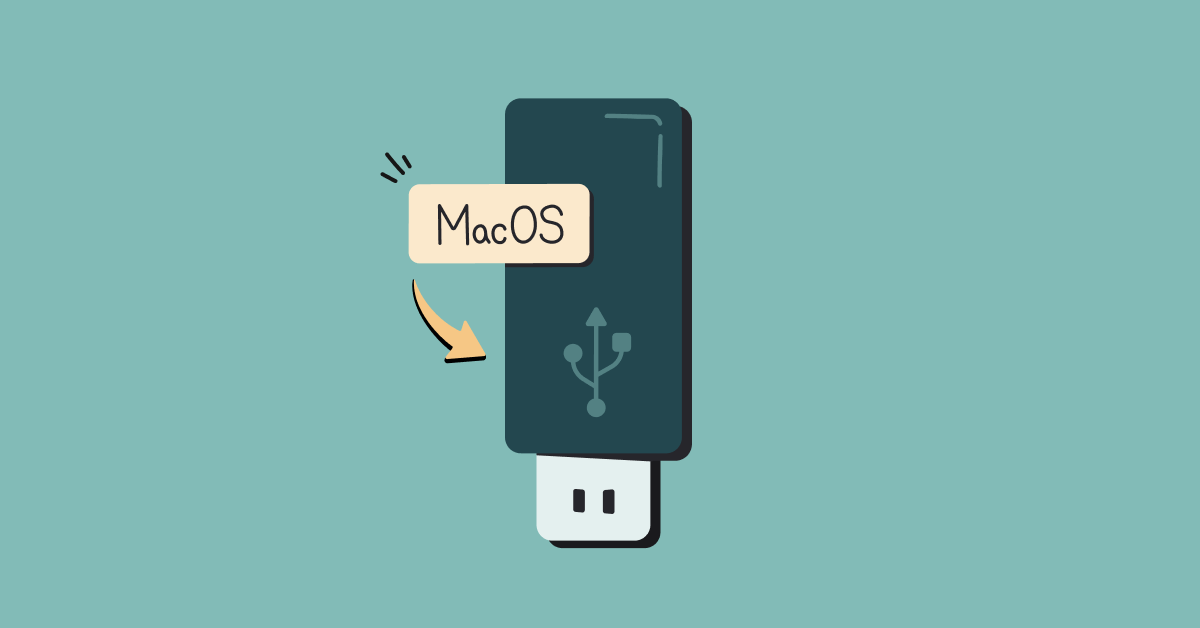
Figuring out tips on how to set up macOS from a USB is a kind of quiet superpowers I consider each Mac consumer ought to have.
Regardless of the purpose, making a bootable macOS installer offers you the pliability to put in any macOS model on any Mac. However because it’s a technical course of, you’ll want to arrange properly to keep away from set up errors and information loss.
On this information, I’ll take you thru tips on how to set up macOS from a USB, step-by-step, create a bootable installer, put together the Mac, and see tips on how to go in regards to the set up safely.
Wish to shortly examine your Mac? Use this Mac Serial Quantity Lookup instrument to simply discover vital particulars earlier than putting in macOS.
Making ready your USB installer
The very first thing you might want to do is examine the scale of your USB storage. Most older working techniques work properly with 16GB USB drives, however it’s possible you’ll want a 32GB drive for the newer macOS variations. Up to date variations of Tahoe, Sequoia, and Sonoma often vary from 20GB to 45GB, so 40GB drives are safer.
From there, you possibly can format the drive to arrange it for macOS set up. To do that:
- Open Disk Utility (Purposes > Utilities).
- Click on on the USB drive.
- Click on Erase.
- Select format as APFS (plain) — the default format macOS expects for bootable installers.
- Identify it MyVolume.
- Click on Erase.

For Catalina or older, use Mac OS Prolonged (Journaled) (GUID Partition Map).
Here is a helpful information for all macOS variations so you possibly can be taught extra earlier than you get began.
Obtain macOS installer
After that, obtain the macOS installer for the model you need. You could have three choices right here:

- Use Safari to obtain the macOS installer: From Sierra to Lion, use Safari and click on on the particular model on the Apple web site.
- Obtain the installer utilizing Terminal: Use the command softwareupdate –fetch-full-installer –full-installer-version <quantity> the place <quantity> is the macOS model (e.g., 26.0.1 for Tahoe). This technique means that you can obtain particular updates, and you need to use the command softwareupdate –list-full-installers to get an inventory of all variations accessible in your Mac.

Make sure you don’t select a model that’s older than the one which got here together with your Mac, as it might not have the required drivers. After that, take a second to undergo your information, whether or not you wish to clear up all the pieces or simply improve.
Creating the Bootable macOS USB
That is the half that tends to really feel a bit geeky, nevertheless it’s not laborious. Right here’s tips on how to create a bootable Mac installer:
- Open Terminal (Purposes > Utilities).
- Run the createinstallmedia command: sudo /Purposes/Set up macOS [version].app/Contents/Assets/createinstallmedia –volume /Volumes/[Name]. Exchange “[version]” with the title of your macOS model (e.g., Tahoe) and [Name] with “MyVolume” or the title you used in your USB drive. In case your macOS model has multiple phrase, like Massive Sur, the format adjustments to Massive Sur.app.
- Enter your password when prompted and press Return.
- Sort Y to verify erasure.
- Eject the USB safely in any case recordsdata have been copied.
When the recordsdata begin copying after coming into your password, be affected person and let the method full. Interrupting it is going to take you again to step one, and it might probably even corrupt the USB drive.
Putting in macOS from the Bootable USB
It’s now time to place your new installer to work. Observe that the process varies relying on whether or not you might be utilizing an Intel-based Mac or a more recent Apple silicon Mac.
Right here’s tips on how to set up macOS from a USB:
- Shut down your Mac (Apple menu > Shut Down).
- Join your macOS bootable USB:
- On Intel-based Macs: Press the facility button, then instantly press and maintain the Possibility (Alt) key.
- On Apple Silicon: Press and maintain the facility button till you see Loading startup choices.
3. Select the macOS bootable USB utilizing the arrow keys (Intel) or the pointer (Apple silicon) and press Return.
4. Select your language if prompted.
5. Possibility 1: Click on Set up macOS and select your inside drive (often Macintosh HD) to maintain your recordsdata and settings. Possibility 2: Click on Disk Utility to erase the startup disk. Return and choose Set up macOS and select the inner drive.
6. Observe the onscreen directions.
Right here’s tips on how to erase your startup disk after choosing your USB:
- Click on Disk Utility.
- Click on in your inside drive.
- Click on Erase and select APFS (for macOS 10.13 or later) or Mac OS Prolonged (Journaled) (for older techniques).
- Affirm, then shut Disk Utility.
- Return and click on Set up macOS, select your inside drive (often Macintosh HD), and comply with the on-screen directions.
In case you are utilizing a Mac with the Apple T2 Safety Chip and you discover that you could’t choose the bootable installer, allow exterior booting from the Startup Safety Utility.
Troubleshooting frequent points throughout USB set up
Even while you’ve seemingly completed all the pieces proper, a number of bumps can seem alongside the best way. Listed here are the frequent points it’s possible you’ll face and tips on how to get again on monitor:
- USB installer not acknowledged: Make sure that the USB is plugged in appropriately and within the right format. You may strive a brand new port and one other pc to see if the gadget is acknowledged.
- Installer doesn’t present at startup: Affirm that the USB drive is within the Mac OS Prolonged (Journaled) for older macOS, or ASPF for brand spanking new macOS variations.
- Can’t set up error: Examine the time settings and set it to automated.
- Repeated disk or set up errors: Run First Help on the goal drive from the macOS Utilities window. This may assist right any points that may block set up.
Keep in mind that getting the variables proper within the createinstallmedia command in Terminal is essential to making sure that all the pieces goes easily.
Why use a bootable USB installer?
A bootable macOS installer isn’t one thing you’ll want day by day, however while you do, you’ll actually respect having it:
- Apple’s official set up technique requires an lively web connection, and it fails when the connection goes down.
- Making a bootable installer supplies reliability, and you need to use it on a number of Macs with no need to obtain the installer once more.
- A macOS bootable USB additionally means that you can reinstall older macOS variations, troubleshoot Macs that received’t run correctly, and carry out clear installs when your working system feels clunky.
As a result of usability, I at all times guarantee I’ve a bootable USB mendacity round for each emergencies and testing functions.
Set up macOS from USB: Accomplished proper
Should you’ve adopted all of the steps appropriately, it’s best to now have a dependable macOS installer. You should use it to put in older or incompatible macOS variations, do upgrades, and repair Macs which might be sluggish or refuse in addition. It’s a kind of small issues that may prevent from frustration.
In case you are not doing a clear set up, keep in mind to wash up your junk with CleanMyMac to make sure your new working system works as anticipated. You must also again up your vital recordsdata with a instrument like Get Backup Professional or Chronosync Specific to keep away from frustration. In case of any file loss, iBoysoft Knowledge Restoration will assist carry your recordsdata again even when the drive is unreadable or the Mac received’t boot.
All these apps can be found on Setapp, and you’ll strive them via Setapp’s 7-day free trial (alongside 250+ different apps).
FAQ: Set up macOS from USB
How do I create a macOS bootable USB?
You may create a macOS bootable USB by:
- Downloading macOS: Get the macOS installer from the App Retailer or Apple’s official sources for the model you want.
- Formatting the USB drive: Use Disk Utility to erase and format the USB, guaranteeing the drive is correctly ready for macOS set up.
- Utilizing the createinstallmedia Terminal command: Run the right createinstallmedia command from the Terminal, specifying the precise macOS installer title and USB quantity title. This command erases the USB and copies the installer recordsdata to make it bootable.
Can I set up macOS from a USB on any Mac?
You may set up macOS from a USB on nearly any Mac. If the macOS model is similar as or later than the one your Mac shipped with, it ought to work. If it’s not supported, you’ll must patch it with OpenCore Legacy Patcher (OCLP). Nonetheless, keep away from putting in working techniques which might be older than your Mac, as they received’t set up or run appropriately because of an absence of drivers.
Do I must erase my Mac to put in from a USB?
No, you don’t must erase your Mac to put in macOS from a USB, though it will depend on what you wish to do. Should you simply wish to reinstall macOS to vary variations whereas holding your recordsdata, settings, and apps, you possibly can skip erasing the drive totally. But when your Mac has gathered a number of litter or you might be troubleshooting persistent points, you possibly can clear it. Should you don’t wish to erase the drive, use CleanMyMac to make sure the brand new macOS runs easily.
How lengthy does putting in macOS from a USB take?
The time taken to put in macOS from a USB varies relying in your Mac mannequin, the USB drive pace, and the macOS model, nevertheless it typically takes between 20 and 60 minutes.
What ought to I do if my Mac doesn’t acknowledge the USB installer?
If Mac doesn’t acknowledge the USB installer, begin by checking whether or not the drive is plugged in appropriately and take a look at one other port. If it nonetheless doesn’t seem, it’s best to affirm that the disk is within the right format and reformat it if needed. Should you can’t make it work, you possibly can recreate the bootable USB drive, which can probably resolve the problems.
Can I take advantage of a bootable USB to downgrade macOS?
Sure, you need to use a bootable USB to downgrade macOS in case your Mac helps the older model you wish to set up. Observe that downgrading is a bit trickier as you might want to clear up the disk to keep away from conflicts, so make sure you’ve backed up your recordsdata with a instrument like Get Backup Professional or Chronosync Specific.