Drag-and-drop is among the most simple issues it’s essential to know to make use of your Mac to its fullest. You’ll be able to transfer recordsdata, rearrange objects, transfer content material from one app to a different, and do much more by dragging and dropping.
On a Mac, you may drag with one or two fingers, so experiment with each strategies. Drag Lock and double-tapping will also be used to provoke a drag. Another choice is to tug with three fingers. Even higher: there are additionally strategies for transferring objects smarter and simpler. Wish to grasp each methodology? Preserve studying.
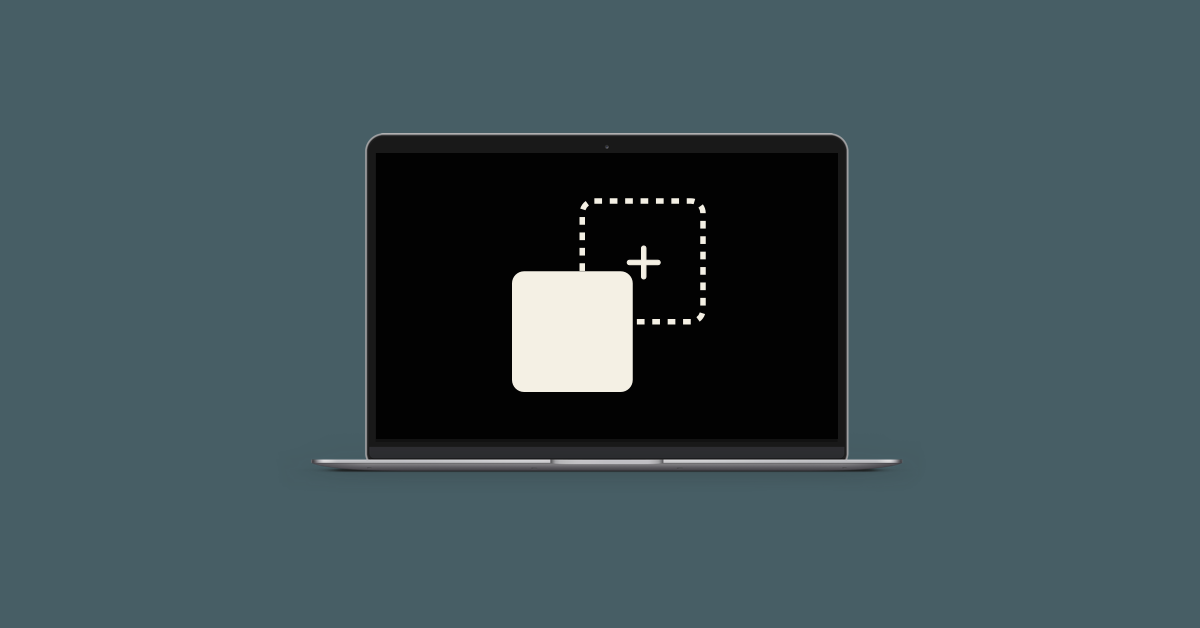
Tips on how to drag and drop with trackpad or mouse
If you wish to know find out how to drag and drop on Mac, right here’s the reply. You should use a wired mouse or a trackpad. The method is sort of the identical irrespective of which means you select. So right here’s find out how to drag and transfer objects on a Mac:
- Choose an merchandise you need to drag. This may be a picture, a file, or a block of textual content
- Press and maintain the trackpad or mouse button whereas dragging the merchandise to a brand new place
- Launch the trackpad or mouse button to drop the merchandise within the new location.

Typically, it’s not simple to tug and transfer objects with a trackpad with one finger. So you can too use your first (thumb) finger to click on and maintain. After which drag along with your second (index) finger. Whereas your thumb is holding the clicking, you may transfer your index finger anyplace.
Drag and transfer objects with ‘Three-Finger Drag’
If you wish to transfer one thing within the Finder, in your Desktop, and even in a file you’re engaged on, you in all probability click on and drag it. More often than not, that’s superb, however clicking will be uncomfortable and even painful when you’ve got carpal tunnel syndrome or one other damage. So, you should utilize Mac’s Three-Finger Drag function.
To allow Three-Finger Drag in your Mac trackpad, do the next:
- Go to the Apple menu > System Settings
- Select Accessibility within the left sidebar
- Then Scroll all the way down to Pointer Management and click on on it
- After that, click on the Trackpad Choices button
- Activate ‘Use trackpad for dragging,’ beneath Dragging fashion, select Three-Finger Drag from the menu, and click on OK.

Tips on how to drag and drop with Drag Lock
Now, let’s change to dragging with Drag Lock. It retains the dragging locked (the mouse button(s) pressed) even when all of your fingers are off the trackpad. That is particularly useful for those who can’t attain the drop goal along with your fingers.
To allow Drag Lock in your Mac trackpad, do the next:
- Go to the Apple menu > System Settings
- Select Accessibility within the left sidebar
- Then Scroll all the way down to Pointer Management and click on on it
- After that, click on the Trackpad Choices button
- Activate ‘Use trackpad for dragging,’ beneath Dragging fashion, select With Drag Lock from the menu, and click on OK.
Shifting recordsdata and folders on a Mac with drag and drop
You may additionally search for a fast option to transfer recordsdata to totally different folders on Mac particularly for those who’re coming from Home windows. So let’s have a look immediately.
- Begin Finder from the Dock and search for the file you need to transfer
- In Finder, the left pane reveals the totally different locations in your Mac. Simply drag and drop the file or folder the place you need it to go.

Learn this text in our weblog to know find out how to discover the mandatory file quicker.
Tips on how to drag and drop objects from Mac to iPhone or iPad and vice versa
You would possibly surprise if there’s a option to drag and drop objects from a Mac to an iPad or iPhone. Did you hear about Apple’s Common Management?
To make use of the Common Management function, signal right into a Mac and an iPad or one other Mac with the identical Apple ID after which preserve them shut to one another. From there, you may transfer the cursor to the opposite system’s display through the use of the trackpad on one among your gadgets. It ought to go from one display to the subsequent with none hassle with the intention to drag and drop objects from one system to a different.
Right here’s find out how to allow Common Management:
In your Mac
- Go to the Apple menu > System Settings
- Click on Shows within the left sidebar
- Then click on the Superior button on the backside of the settings window
- After that, activate ‘Permit your pointer and keyboard to maneuver between any close by Mac or iPad’ and click on Carried out.
In your iPad
- Go to Settings
- Faucet Common, then faucet AirPlay & Handoff
- Activate Cursor and Keyboard. Please word that this setting is on the market solely on iPad fashions that assist the Common Management function.
Additionally, needless to say for those who’re utilizing an iPad and a Mac, you need to have an acceptable app open.
Open the Images app on the iPad first earlier than dragging a photograph from the Mac to the pill, as an example. Open the Recordsdata app in your iPad when you’ve got a doc you need to transfer.
Sadly, the function isn’t obtainable on iPhone, however you should utilize AnyTrans for iOS as a substitute if you wish to transfer recordsdata between macOS and iOS simply.

Tips on how to drag and drop on a Mac with ease
Apple created skeuomorphic drag-and-drop, which lets you transfer objects that appear like paperwork, recordsdata, folders, and pictures to new areas, together with nesting them inside different folders. That bodily/visible metaphor has stayed principally unchanged in the way it capabilities throughout the macOS Finder for about 40 years.
Undoubtedly, a drag-and-drop staging space for Mac can be improbable. As of now, the closest choice is to create a folder on the Desktop into which you will drag objects, however macOS restricts the varieties of objects you may rapidly add to such a folder. Luckily, beneath the Apple tree, there could lastly be some new progress because of the Yoink app. It gives a brief location to deal with dragging objects from the Finder, the Clipboard, and different areas till you’re prepared to make use of them.
While you drag an merchandise or choice within the Finder or every other app, a brand new window pops up. You’ll be able to transfer textual content from phrase processors that deal with alternatives as draggable, drag and drop a picture from an internet web page or inside an app, and replica e mail messages from a mail app, amongst many different issues.

On the lookout for extra methods find out how to drag and drop on Mac with ease? Strive Filepane, a helpful file supervisor that can enable you to transfer your objects rapidly and simply to the place you need. As quickly as you begin dragging, a small window will pop up the place you may drop your choice. The perfect factor: the Filepane app acknowledges the varieties of objects you’re placing in and supplies you with a listing of actions to take.

Drag with problem? In case you have points dragging and dropping, learn ‘Tips on how to repair drag and drop not engaged on Mac.’
You can too use NotchNook. The app supplies a multifunctional helper on your Mac’s notch (and it’ll work even when your Mac mannequin doesn’t have a notch!) which you could additionally use as a drag-and-drop help. NotchNook has a “Tray” the place you may drag and drop recordsdata for straightforward entry later.

Here is find out how to AirDrop by way of NotchNook:

Now you know the way to tug and drop on Mac with ease, in addition to find out how to allow Drag Lock in case you may’t attain your drop goal along with your fingers.
Our recommendation, nonetheless, is to get Yoink, Filepane, and NotchNook to enhance drag-and-drop in your Mac. Each apps can be found to you for gratis for 7 days via the trial of Setapp, a platform with dozens of helpful instruments for Mac and iPhone throughout quite a lot of classes, from capturing GIFs out of your display (Gifox, CleanShot X) to personalizing your menu bar (Bartender).
Strive these and extra apps on Setapp with one helpful subscription!